- You are here:
- Home »
- Author's Archive:
All posts by mikesaif
Goalkeeper Box Drill
By Matt Carroll –
Description:
This is a solid warm up for goalkeepers that can be used for both the teaching of goalkeeping technique and as a physical/mental activation for either a goalkeeping specific session or as a quick way to prepare keepers to jump into an integrated session
Setup:
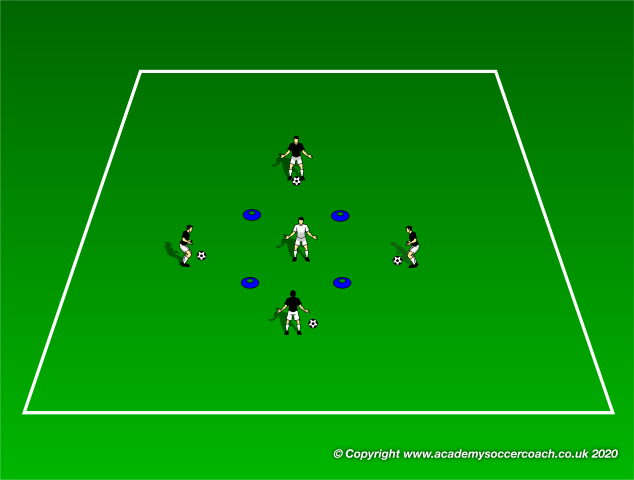
Create a 3×3 box with the goalkeeper inside. Passers are placed on each side of the box (with at least two passers) each with a ball.
Execution:
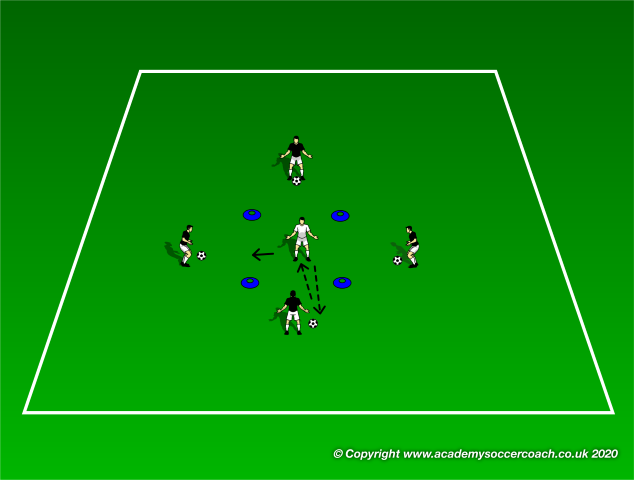
The drill should last between 20-40 seconds with either rotation of goalkeepers or a short break for a single goalkeepers. The drill starts with the goalie facing one of the passers who is holding a ball. The passer either volleys a ball at the goalies chest, places a low hard shot at their feet, or throws the ball in the air for the goalie to catch. The goalie receives the ball then plays it back to the passer, then turns clockwise to the next passer who again plays one of the three options. Coaches should be focusing on promoting proper technique.
Variations:
– Coaches can add any other specific technical
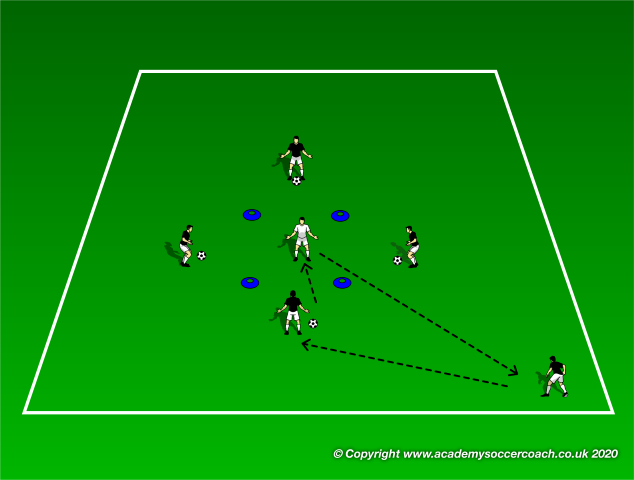
– A target for the goalkeeper can be added to include an element of distribution and recovery to the drill
By Matt Carroll
Technique to Sprint Drill
By Matt Carroll –
Description:
This drill is helpful in helping player recognize that the skills that are practiced in repetition are not just for that isolated drill, but to transfer to workable technique on the pitch.
Setup:
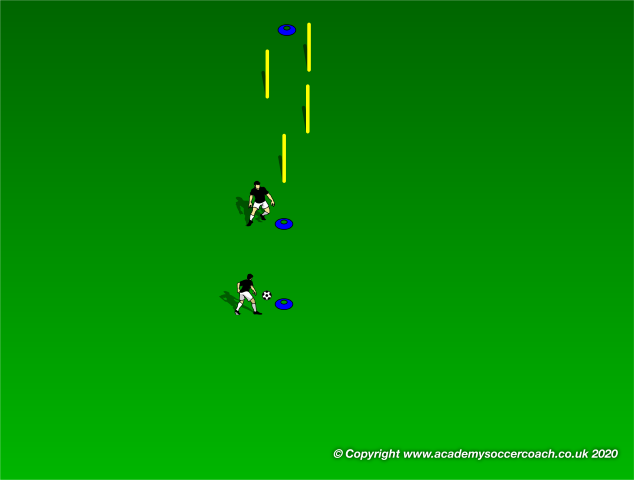
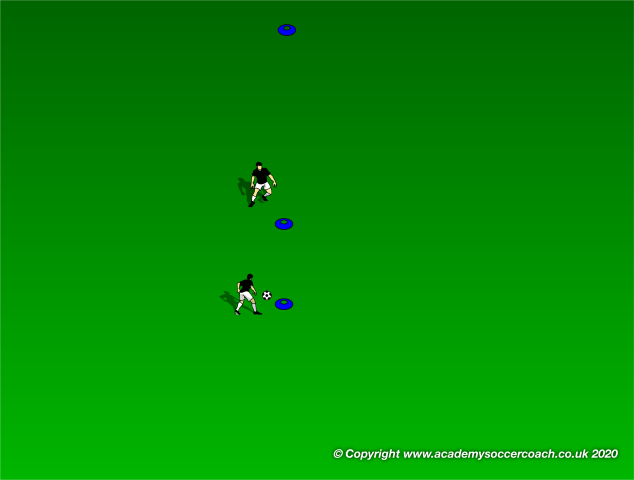
Set up two cones about five feet apart from each other with one cone about twenty feet away from that set up. Have a player stand at the far cone and the middle cone. The player on the middle cone is the active player and the player on the far cone is the passer. Only one ball is needed between the two of them.
Execution:
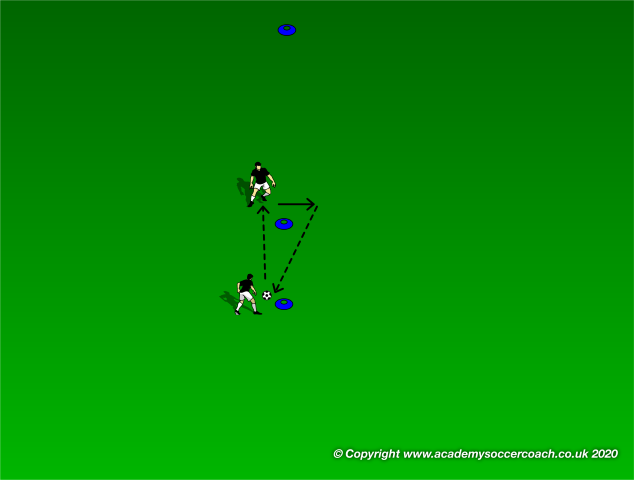
The passing player starts by playing to the active player. The active player executes some type of technique such as a volley with laces, volley with instep, header, chest to volley, thigh to volley, receive on the left side of the cone-roll to the right side-return pass, or just alternating left and right footed passes. This should go on for between 30 seconds to a minute.
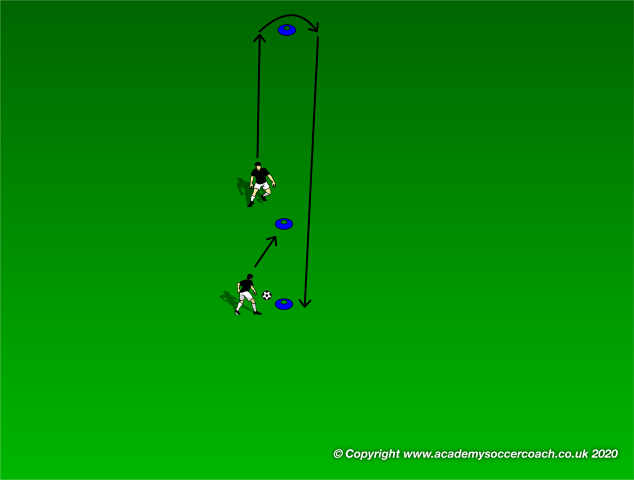
After time has elapsed the coach should use a signal (whistle, clap, verbal cue) to cue the active player to turn and sprint around the far cone and then return to the cone where the passer was. Once the active player reaches the passer cone the passing player goes to the active cone and the player switches roles. The keys coaching points to the sprint part of the drill should be that once players move to sprint they should be dropping their shoulders and driving hard off their pivot foot. Sprint form should be critiqued and corrected during the sprint phase. When the players reaches the cone where they are going to turn around it is important that the player chops their feet and decelerates in a controlled manner and again drops their shoulder to take a sharp turn around the cone
Variations:
– The choice of techniques for this drill are are really only limited by the imagination of the coach
– The length of the sprint can be varied depending on the age/fitness of the player
– To turn the drill into a more technique or agility based drill players can take the ball during the sprint phase and complete an agility circuit with the ball.

By Matt Carroll
Technique Speed Circuit
By Matt Carroll –
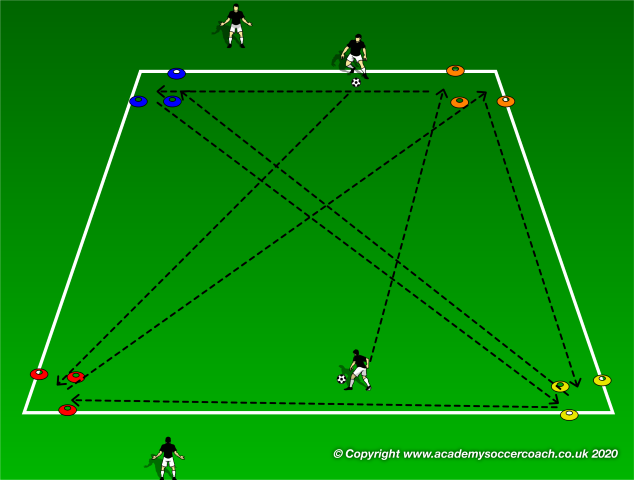
Description: The technique speed circuit should be used as a progression for some other type of technical drill. For example, if you are teaching Cruyff Turns a drill should be used first to teach the finer points of the move and to give players the time to develop their technical feel for it, and then The Technique Speed Circuit can be used to develop the player’s sense of using the move, at pace, in an unopposed setting
Setup: Create four areas in a rectangle that are either coned off or place speed circles. If possible, make each corner a different color. The coach stands outside of the box and the player starts with a single ball on the line between two different corners.
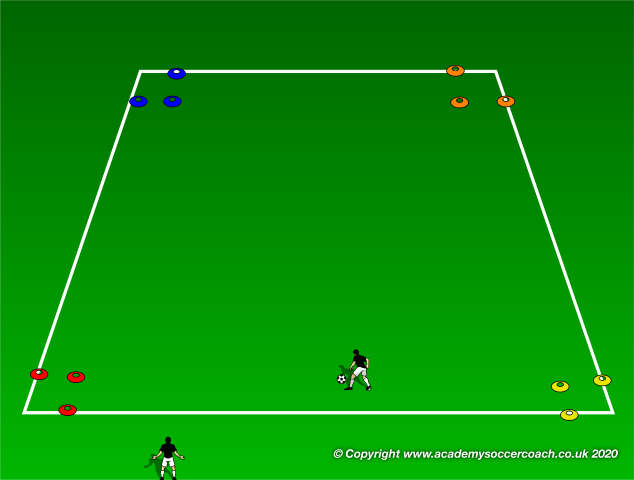
Execution: The coach should choose a particular skill that the player wants to work on. The Coach then starts the drill by yelling out a color that the player must dribble to. Once the player reaches that appropriate colored grid the coach yells another color. The player then needs to then pull the move in a way that pulls them to the next designated colored cone, and repeat until the player has reached all four corners. Coaches should time these so that the players can assess and compare their speed of execution. Any round where the skill is not executed up to the coach’s standard can then be not counted.
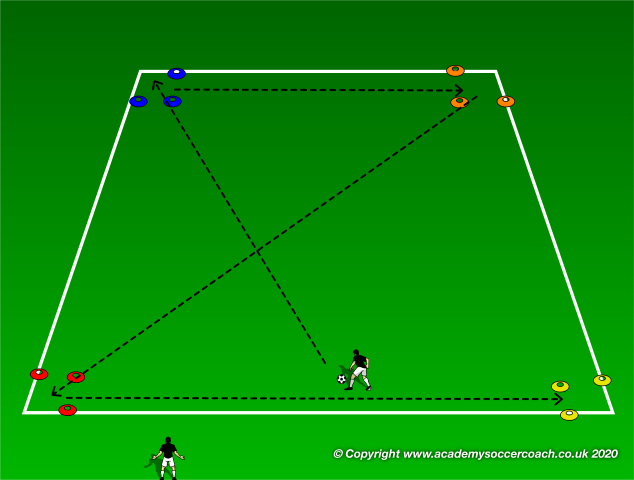
Variations: To include more difficulty multiple players and coaches can be added so that two players can be attempting to complete the circuit at the same time. What this forces players to do is accomplish the skill, be aware of the verbal cue from the coach, and now have to check their shoulder to see where the other player is so they can avoid them to improve their time.

By Matt Carroll
Receiver Drill
By Matt Carroll –
Description:
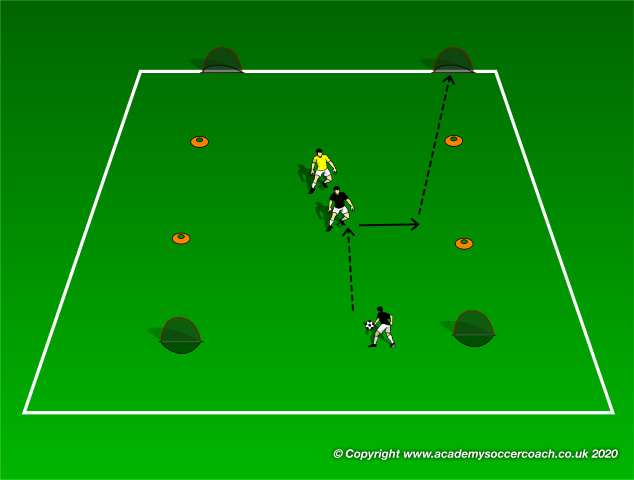
The receiver drill is a warm up progression that gets players to think about how their movements can be used to shake a marker and receive a pass. By starting off with catching the ball players can focus on the movements rather than the technique and do so in a way that is light and fun, and then the technique can be added as the drill progresses.
Setup:
Create a large box and players partner up 1v1 with one player defending and one the attacker. 1-3 players stand outside of the box, initially holding balls to throw to their teammates. The size of the box will be dependent on the number of players involved. The smaller the box the more congested play will be, and thus more difficult.
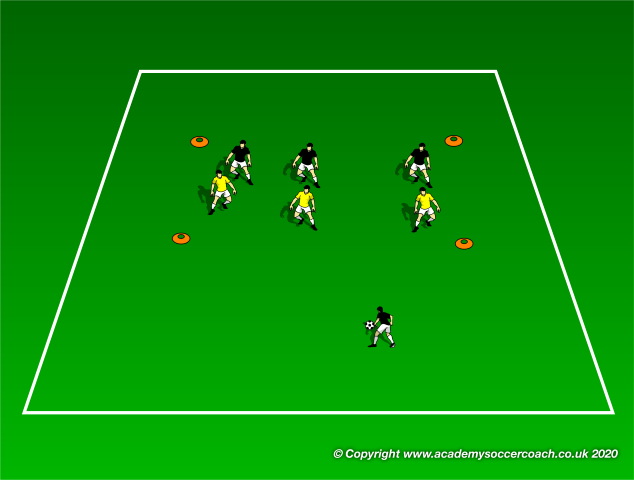
Execution:
Progression 1: In the first stage the throwers hold the balls and attempt to throw to the attacking players. If the player is able to stay within the assigned grid and catch a ball they get a point. Similar to American Football, the defender cannot interfere with the attempt to catch the ball, but they can swat it away or intercept the ball. If they intercept it the defender gets a point. After a set period of time the attacker and defender switch roles and the game is played for the same amount of time. After both players have gone the points (catches and interceptions) are added and the player with the highest score wins.
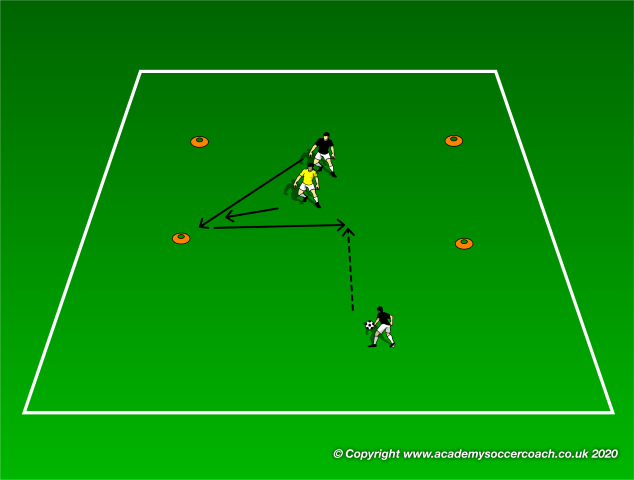
Progression 2: Now the coach should stop the drill, explain the importance of movement to lose a marker, and change the rules from throwing to receiving with the feet. If the player can receive the ball and take two touches they receive a point. There is no way to score on defense in this stage, if the ball is cleared, goes out of the grid, or won by the defender that ball is dead.. Same as before after two allotted times scores are added and the highest score wins.
Variations:
-Add a stipulation that the player that receives must be able to play the ball back to the passer to score.
-Add a permanent defender to increase difficulty by creating a defensive numerical advantage.
-Add a goal that players can score on to increase their score
-In addition add a counter goal for defenders to intercept passes and score on.

By Matt Carroll
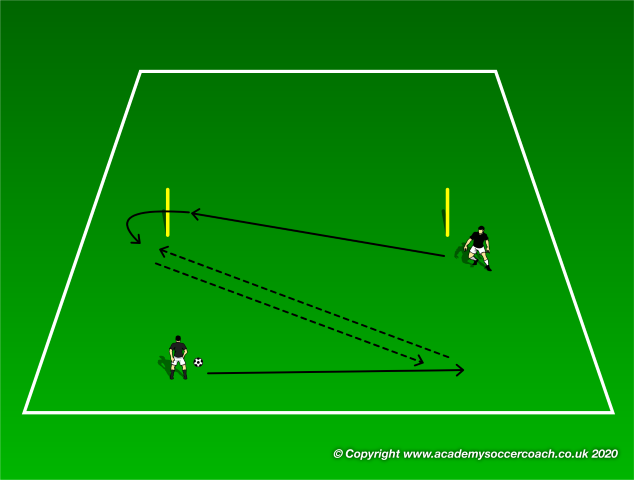
Figure 8 Passing Drill
By Matt Carroll –
The Figure 8 Passing Drill is designed to both work on acceleration, as well as deceleration, a concept that is rarely addressed except maybe in teaching touch-tight defending activities. Deceleration allows players to quickly move from full speed to an appropriate speed for playing or receiving a pass, which will leave opposition players scrambling to make adjustments.
Setup:
Place two coaching sticks 15-20 yards apart Place one player in front of the coaching stick and one player/coach with a ball about 10 yards in front of them
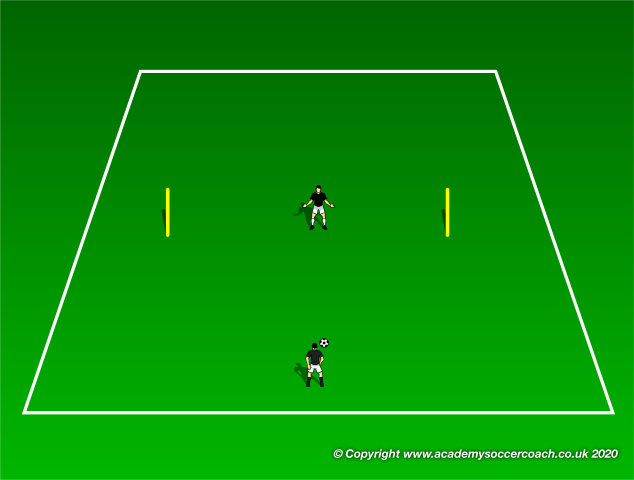
Execution:
The activity starts with the player in front of the coaching stick running around the back of the opposite coaching stick. As soon as they round the coaching stick the player with the ball should play them a ball which they then one touch pass back, this is where it is key for the player to break down his feet and decelerate in order to play the pass in a controlled manner.
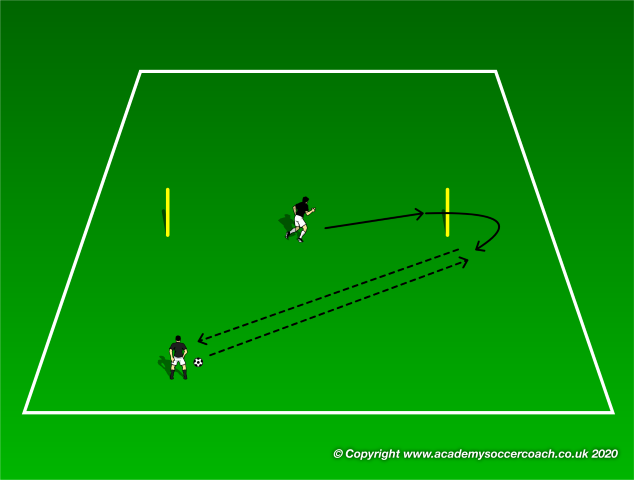
After the pass the player then moves to round the opposite stick. As they do the passer then must get to the opposite side with the ball to provide the diagonal pass. After set time the coach blows the whistle and the passer and runner switch.

Variations:
– If the movement becomes too complicated, get rid of diagonal pass and have the pass come from the same middle area the passer/coach started at, this also makes all passes medium distance rather than longer distance diagonal passes.
– Have the coach/passer move to the same side as the runner and have them receive a short pass, take the ball around the opposite coaching stick, have the coach/passer run to that sides as well and engage in a brief 1-2 with the player then repeating the action by dribbling to the original coaching stick.
4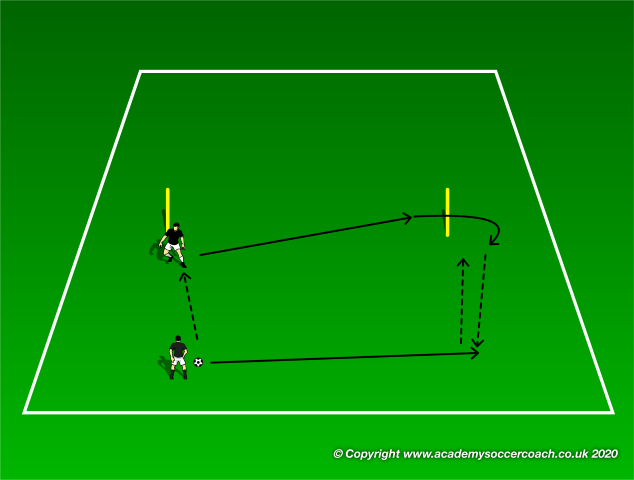
By Matt Carroll
Diamond Color Game
By Matt Carroll –
The purpose of the diamond color game is provide the player with a series of verbal and visual cues which will force them to utilize the correct technique and body position to play a series of passes or dribbles.
Setup:
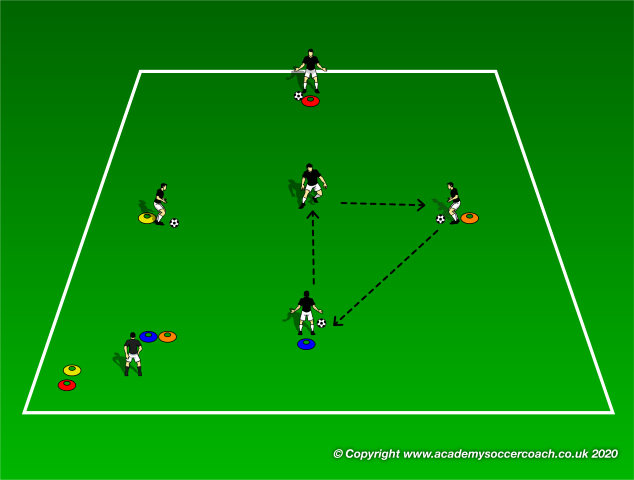
Setup will be determined by the number of “passing players”, walls, or rebounders available. If there are a total of 5 players and a coach setup four cones around a central player (distance between cones and central player should be adjusted for age and skill) and give each player on a cone a different colored bib and a ball. Have a coach away from the diamond with a handful of the pinnies that match the color of the players with the pinnies.
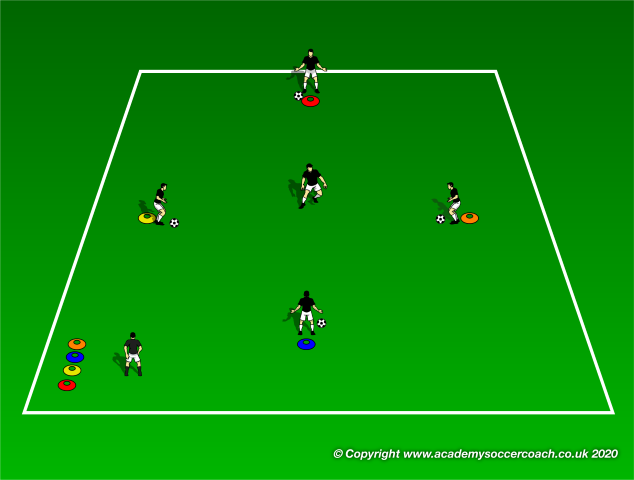
If there are limited players replace the players with balls, rebounders or cones.
Execution:
If playing with “passing players” the coach starts by verbally calling out the color of a player in the diamond. That player passes to the player in the middle who returns the pass. Before the central player can play the return pass the coach should call out another color so that the central player must complete the pass and quickly get into position to receive and deliver the next pass.
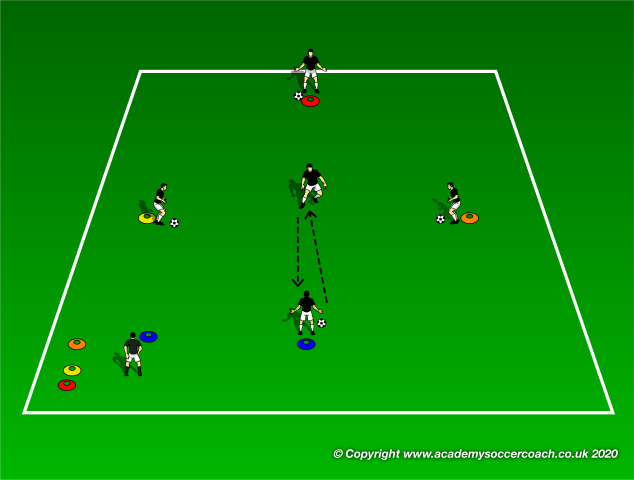
From there the coach can increase difficulty by:
-Calling a sequence of colors so that the player must memorize where the ball is coming from
-Have the central player receive from one color and play to another color by having the coach call out two-three colors at a time.

Variations:
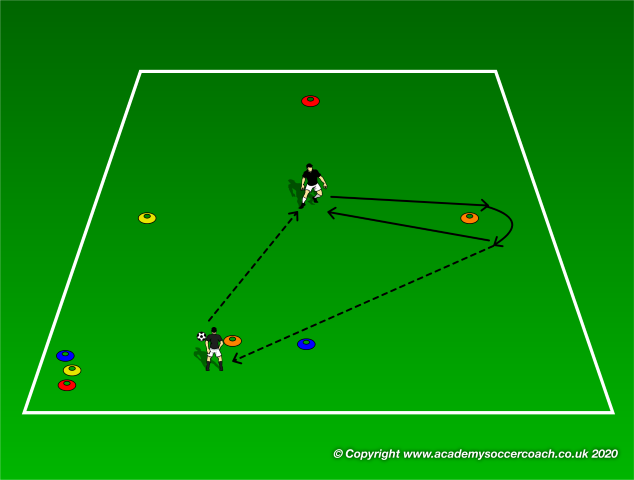
-If there is limited players assign a color to a wall or rebounder and play with one central ball
-If none of these are available just place the cones where players would be and have the coach play a pass to the central player and then call out a color. The player must then quickly decide how to receive the pass effectively to move in the direction of the colored cone, dribble around that cone, pass back to the coach and get their body set to receive another pass once they get central again.
By Matt Carroll
Triangle Shoulder Check Drill
By Matt Carroll –
Skill based drills are fantastic for developing technique but sometimes players find it tough to transfer their skills in isolation into the game, that is why it is important to strike the right balance between repetition and variability. The Triangle Shoulder Check Dril provides repetition of receiving on the half turn and checking the shoulder, but forces the player to adjust to ever changing visual cues. Seeing the use of the technique in various contexts means they are more likely than to see a similar context in game, and therefore execute the technique in that situation.
Setup:
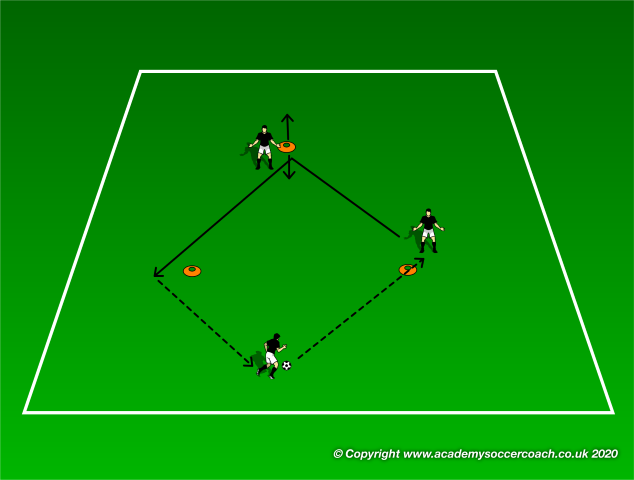
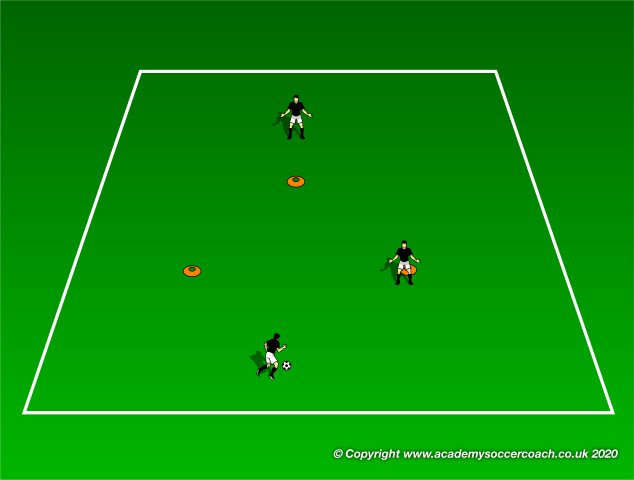
Create a triangle of cones and include a passer about 8 feet from the front two cones. Include another coach at the top of the triangle holding that cone. If only a player and coach are available replace the passer coach with a rebounder.
Execution:
Stage 1: Players receive a pass on the half turn towards the far cone, dribble around it, then dribble to the next cone and lay off a pass after they pass that cone. They then receive a pass pack and repeat the action the opposite way. Players should be reminded to check their shoulder once before the pass is made and then again while the pass is en route.
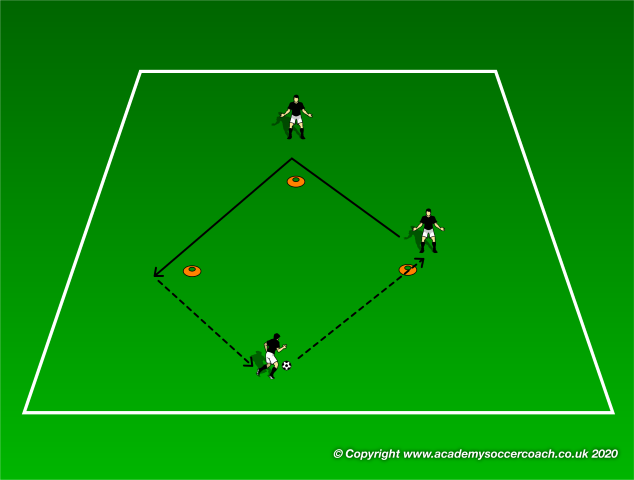
Stage 2: This time a coach is holding the far cone. When the ball is being passed the player receiving must check their shoulder to accurately decide where the cone is being thrown so they can take the appropriate touch toward that far cone.

Variations:
Coaching sticks can be used, the coach can become the physical cone for the back cone as well
By Matt Carroll
Receive With a Change of Direction
By Matt Carroll –
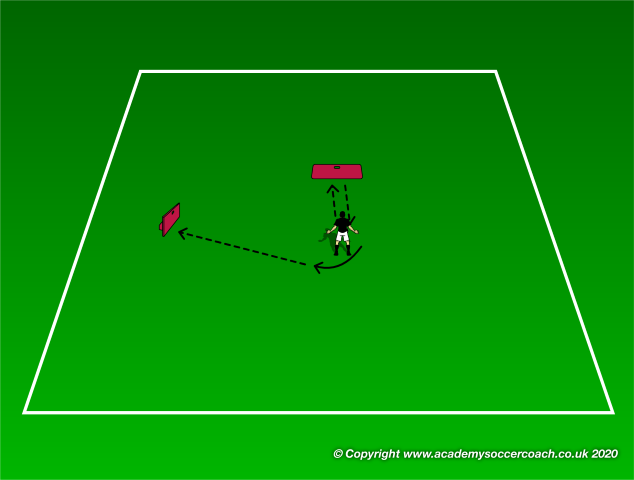
The purpose of this individual technique drill to provide repetition of receiving into a change of direction with a high level of repetition and variability.
Setup:
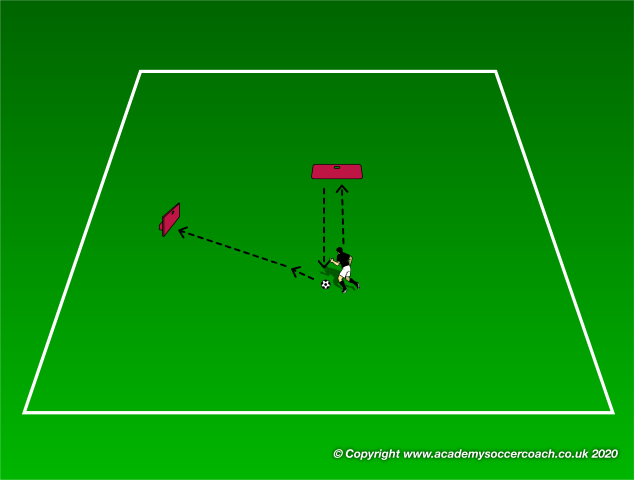
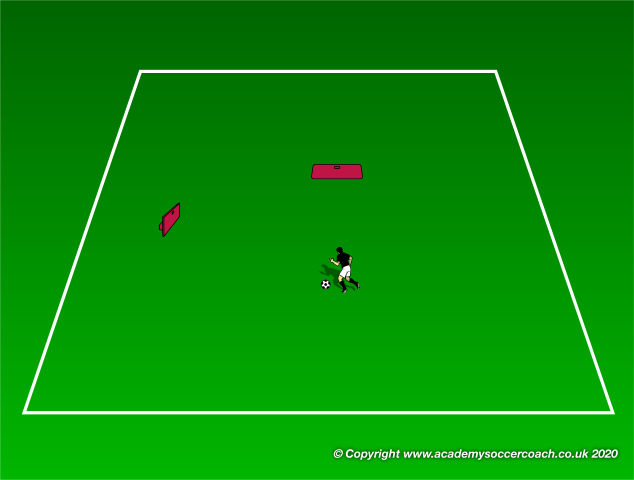
Set up a rebounders about 10 feet in front of a player and ten feet to their left. This can also work in the corner of a room or gym as long as the wall provides a significant rebound.
Execution:
First the player plays with their right foot against the wall or rebounder in front of them. It may be helpful to have a certain point on the rebounder marked out as the passing target to ensure accuracy. When the ball comes back they should open up their hips and receive the ball with their back foot and take a touch in the direction of the other rebounder. They should then pass the ball with their left foot and repeat the action with the focus on body position, using the appropriate weight on the pass, placing it in a way that it comes to their back foot, and having a touch that plays the ball into the route of their next pass

Variations:
Variability in this situation is pretty endless but some suggestions are:
-Have the player receive on their right foot with the sole of their foot, then roll the ball over towards their left foot so they can hit it with that one and repeat.
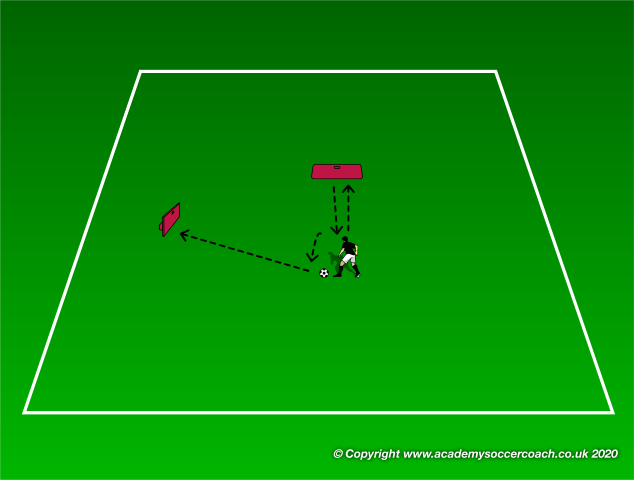
-Play all one touch passes by letting the ball played with the right foot roll across their body and position their body so they can hit the ball squarely with their left, and repeat.
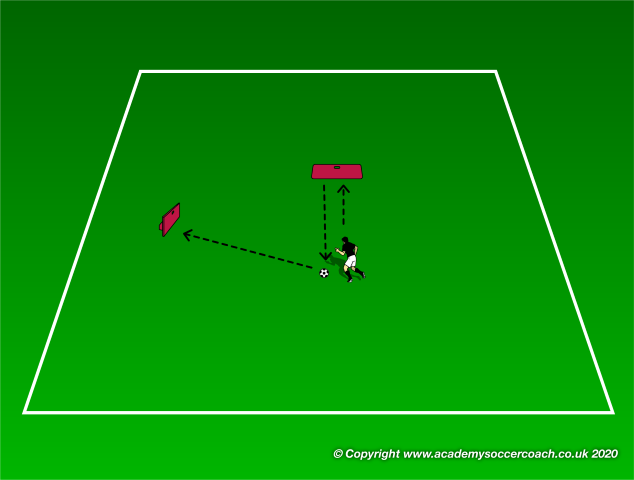
-Receive the ball back square and then perform an L turn to square up to the next rebounder
By Matt Carroll
